Salesforce field history tracking is a great built in feature, but doesn’t always meet the requirements of the business and can be cumbersome when trying to report on the historical data. Administrators struggle specifically with Opportunity field history reporting. Determining stage duration, how an Opportunity moves through the pipeline and related changes to the Opportunity can be challenging.
Thanks to Process Builder, Administrators now have the ability to create their own custom solution to fit the needs of the business while providing improved reporting capabilities.
Better Field History Tracking
Here’s the problem scenario I’m working with. Due to compliance reasons, the company needs to track specific fields on an Opportunity and want to be able to easily report on the previous value and new value of the fields, along with who made the change and when. The information should be easily pulled into a report for use by the compliance department. In addition, the business wants to leverage the history tracking to calculate stage duration in a more logical manner.
The solution is quite simple and will require a few components:
- A new custom object
- Custom fields on the new object
- Process Builder process
The custom object will house historical records created by the Process Builder when a field change occurs. As a result, a new record will be created which will count towards data storage limits. So, be aware that this solution may not fit all organizations.
1. Create the Custom Object
To start, we need to create a custom object and relate it to the object we want to track history against. In this case, that will be the Opportunity. The new custom object will be called Opportunity Field History and be related to the Opportunity via a Master-Detail relationship.
Related: Creating Custom Objects in Salesforce
Here are the steps to create a new custom object in Salesforce. Note that these instructions will be based on the Lightning Experience navigation.
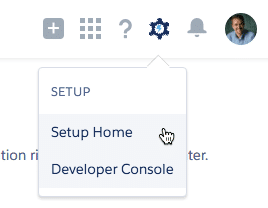
- In the upper right-hand corner of Salesforce, click the Gear icon and then click Setup Home.
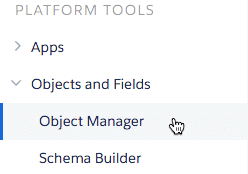
2. Using the left-hand navigation, in the Platform Tools section, click Objects & Fields | Object Manager.
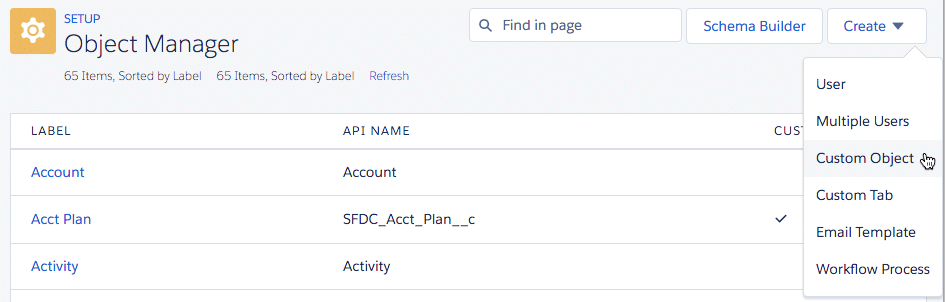
3. In the upper right-hand corner of the Object Manager section, click Create | Custom Object.
4. Enter the properties of your custom object including the object name and related permissions. Here’s how my custom object is setup. After all settings have been established, click Save.
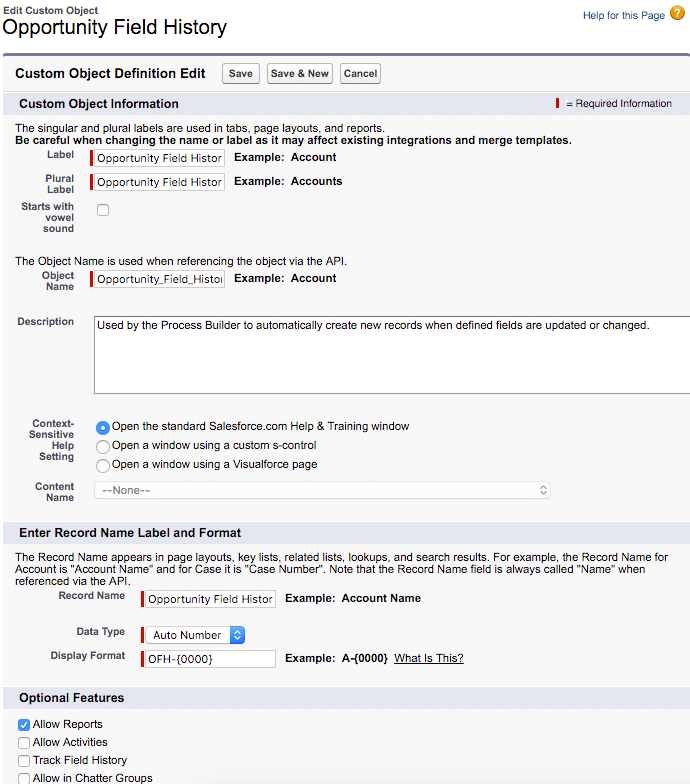
Now that the custom object is created, we need to create a series of fields on the custom object to capture the new and historical data from the Opportunity.
2. Create Custom Fields
The business wants to track the previous and new values from the Amount, Stage, and Close Date, along with who made a change to the record and when. In order to accommodate the request, we’ll need to create the following fields:
- Amount New (Currency)
- Amount Previous (Currency)
- Stage New (Text)
- Stage Previous (Text)
- Close Date New (Date)
- Close Date Previous (Date)
- Opportunity (Master-Detail)
Because we’re wanting to track and report on the previous and new value of the fields easily, two new fields for each field we’re tracking is required. Because the Process Builder will be triggered by the user who is making the change to the record, the Created By field on the Opportunity Field History object will be the user making the change to the Opportunity record and can be easily pulled into the report so there is no need to create a custom field to capture that information.
I chose a Master-Detail because I want the related Opportunity Field History records to be deleted if the Opportunity is ever deleted. That specific functionality is not available with a Lookup Relationship. The new Stage fields are text because I don’t want to have to recreate picklist values and keep the picklist up to date should those values change over time.
For more information on fields and the difference between Lookup and Master-Detail relationships, read this related article: A Primer on Salesforce Fields and Relationships, part of the Zero to Hero series.
Now that the fields are created, it’s time to create the Process Builder process!
3. Create the Process Builder Process
Process Builder is a fantastic resource to Administrators. I’m using Process Builder instead of Workflow Rules because records can be automatically created. To do this previously required an Apex trigger which often required a Developer.
In order for the new Opportunity Field History record to be created, we need to understand the logic and what field values should be captured. There are two paths this could go:
- Capture only the value of the field being changed OR
- Capture all of the fields at the time one or more of them change
I’m opting for the first option which will provide a snapshot in time for all field values, regardless of how many of these fields were changed, and manage the resulting Process Builder will be much easier should we decide to add or remove fields in the future. Here’s how we’ll create the Process.
1. In Lightning Experience, click the Gear icon then Setup Home.
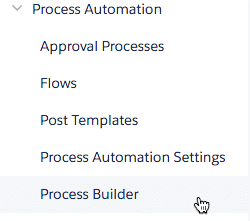
2. Under Platform Tools, click Process Automation | Process Builder.
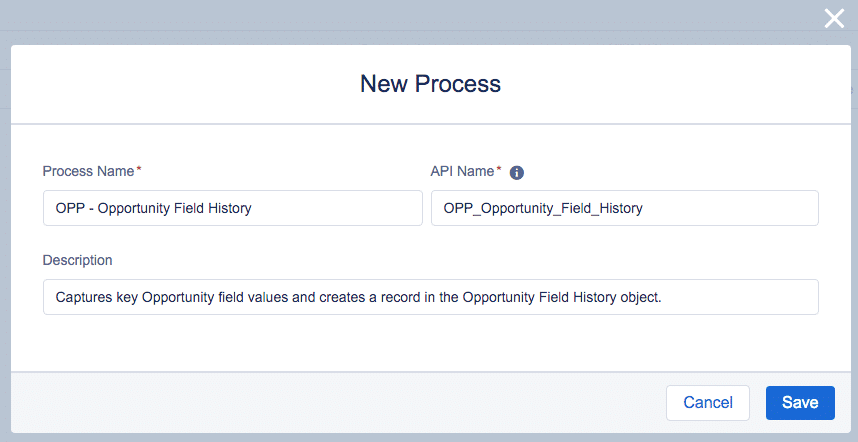
3. Click New in the upper right-hander corner of the Process Builder page to create a new process and provide a name and description. Click Save. NOTE: I tend to preface my Processes with a the name of the object in all caps so that processes are then grouped by Object. This makes it easy to find in a list.
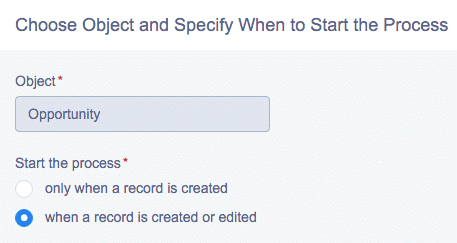
4. Select the object that will trigger the process. In this case, we’ll select Opportunity. Because I want a new Opportunity Field History record to be created every time one of these fields is edited, I’ll choose to start the process when a record is created or edited. Click Save.
5. Next is the entry criteria. This is where we indicate what conditions must be met in order to execute the action of creating a new Opportunity Field History record. In the screenshot below, I’ve selected the option to execute the actions when Conditions are met. As a result, my criteria must equal a true statement in order to proceed.
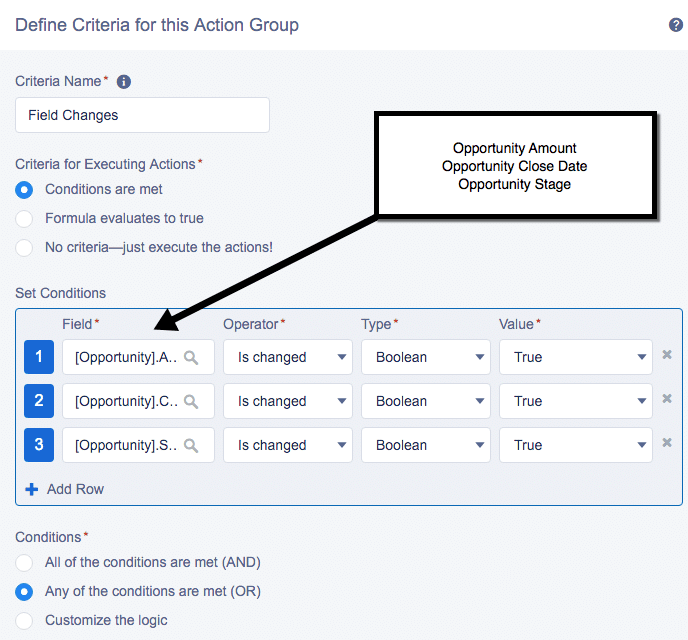
In the Set Conditions section, I’ve indicated under what conditions to the Process will be evaluated. The requirement from the business is to capture the value of all of the fields regardless of which field was updated. So, my entry criteria are looking to see if Opportunity Amount, Opportunity Close Date or Opportunity Stage have been changed.
In the Conditions section (bottom of the screenshot) I’ve selected Any of the conditions are met (OR) which means that if any one of the three conditions evaluates to true, the related actions will be executed. Click Save to continue.
6. Click + Action in the Immediate Actions section and choose Create a Record for the action type.
7. Give the action a name, and for the Record Type, select the newly created Custom Object called Opportunity Field History. What we’re indicating here is that we want to create a new Opportunity Field History record when the criteria we just created is equal to True.
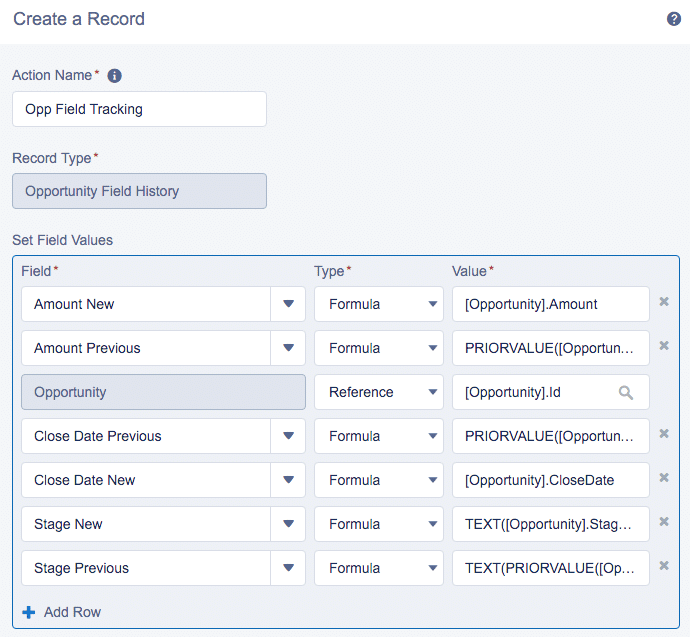
8. Now it’s time to create the field mappings. This is an easy step. I’ll be using formulas to populate most of the values on the Opportunity Field History record. To capture the old value of these fields, we’ll use a function called PRIORVALUE(). The formula is easy and is formatted in this way:
PRIORVALUE(FIELD_NAME__C)
Be sure to use the Insert Field button to populate the field. The API name is slightly different in Process Builder than in workflows.
The formula for Stage New and Stage Previous is a little bit different because we’re converting the picklist value to text. Here’s what the formula looks like for this specific field:
TEXT(PRIORVALUE([Opportunity].StageName ) )
One all of the fields have been mapped, it’s time to save the action. Here’s what this step looks like completed in Process Builder.
9. Click Activate to activate the new Process and test it out.
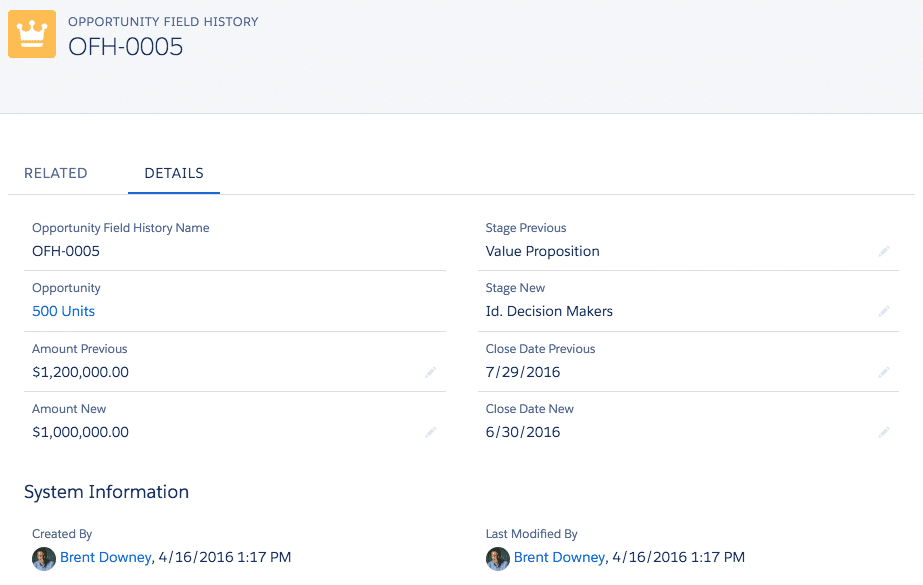
4. Test It!
Testing is always the fun part for me! Open an Opportunity and change one or multiple fields and save the record. Be sure to test all possible combinations of your entry criteria! As the field values are changed, new Opportunity Field History records should automatically be created and the appropriate values populated. Here’s an example.
While standard field history reporting works for most companies, there may be a use case where leveraging a custom solution is needed. Using Process Builder and a custom object is a simple way to track field history changes on any object.

Leave a comment